Neon
This section provides step-by-step instructions to make a Neon database compatible with Prisma Pulse.
1. Enable logical replication on Neon
To enable logical replication on Neon, follow these steps:
-
Navigate to your project in the Neon console.
-
Go to the Project settings section from the Neon Dashboard.
-
Go to the Beta section in Project Settings.
-
Click on Enable.
infoYou may be restricted from enabling logical replications due to an Enrollment Pause for the Neon logical replication beta phase. Learn more about enabling logical replication in Neon here.
You have successfully enabled Logical replication for Neon. Now, follow the steps below to configure your Neon database to work with Pulse.
2. Create publications in Neon
After enabling logical replication on Neon, follow these steps:
-
Create a publication to listen to database events from your Neon database. Use the SQL Editor in your Neon project to execute the SQL query to create a publication to listen to database change events from all tables:
CREATE Publication $PUBLICATION_NAME FOR ALL TABLES;
infoYou can also create a publication to subscribe to database events from specific tables. To learn more on managing publications refer to this section.
-
Before enabling Prisma Pulse, make sure to insert the publication name (e.g.,
$PUBLICATION_NAME) in the Publication name field in your project environment configuration for Pulse in the Platform Console: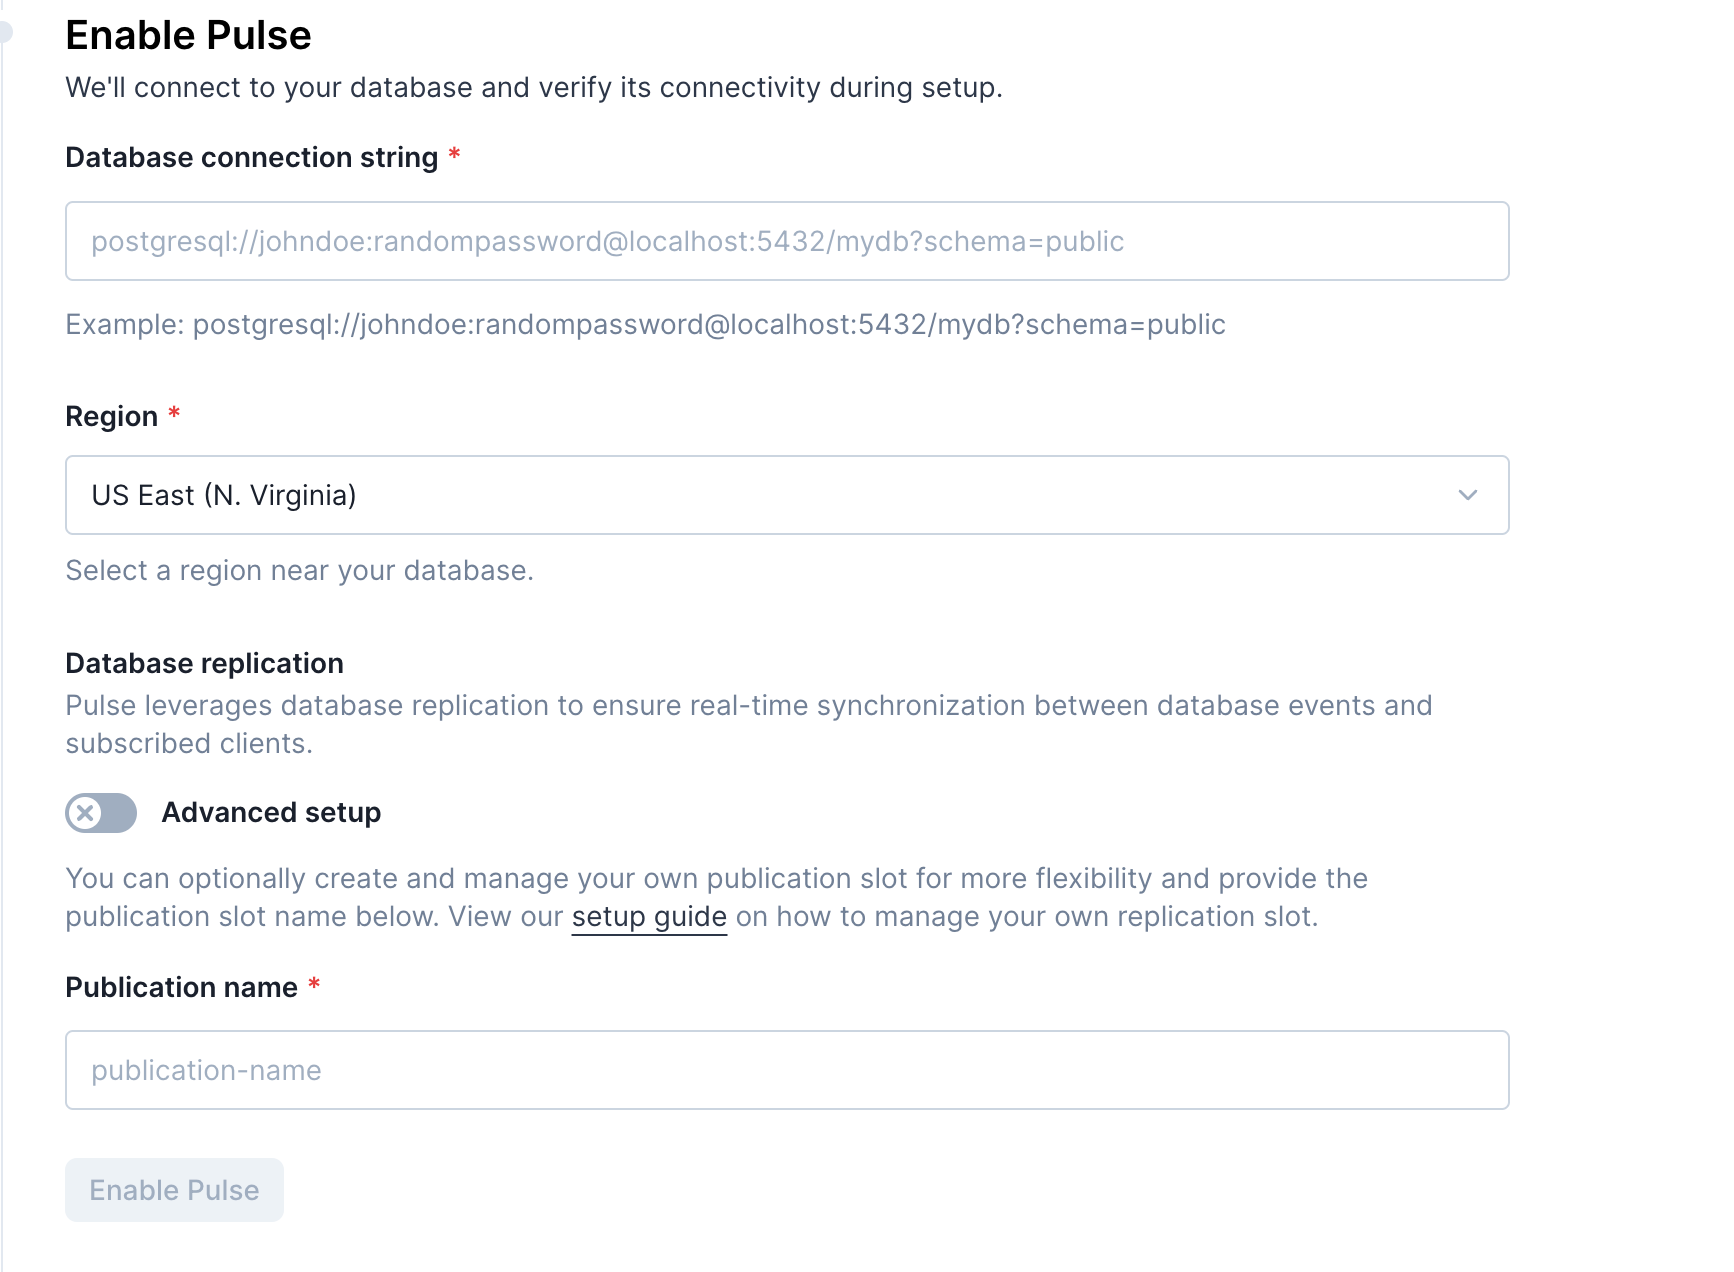
Your Neon database is now Pulse-ready! Follow our getting started guide to see how to use Pulse in your application.